Last updated November 17, 2026
Free written scope consultation - allowances, timeline, and change-order rules on paper before a single trade is scheduled
Driveway & Pavers Troubleshooting in Richardson: Common Problems and How to Fix Them
That sunken paver section near your garage apron probably isn’t a paver failure. It’s a base failure, and replacing the pavers on top without fixing the base beneath is the single most common and costly mistake Richardson homeowners make. A paver is a very durable product. The soil under it and the sand between it are where things actually go wrong. In this guide we walk through how to identify what’s failing before anyone touches your driveway – settling versus rocking, cracking versus efflorescence – and what a targeted repair looks like when you catch the problem early enough. You’ll also get the questions to ask so a repair bid addresses the root cause, not just the symptom.
Quick Answer
Most driveway paver problems in Richardson come down to two things: an underprepared base over expansive clay soil, and improperly applied polymeric sand. Both can usually be repaired without a full replacement if you diagnose the actual failure first. Surface symptoms like a sunken section, loose joint sand, or a rocking corner are clues, not the problem itself. The fix starts with identifying what’s moving and why.
Styles & brands we work with
- Kitchen remodeling
- Bathroom remodeling
- Home additions & ADU
- Roofing
- Windows & doors
- Driveway & pavers
- Fence
Table of Contents
- Visual Diagnostic Matrix: What Your Driveway Is Telling You
- Why Richardson’s Clay Soil Moves Under Your Pavers
- The Repair Protocol for Sunken Sections
- Polymeric Sand: When Re-Application Works and When It Doesn’t
- How Texas Summer Heat Breaks Down Joint Sand
- Edge Failure and Border Re-Setting
- Contractor Red Flags: Questions That Reveal What a Bid Really Covers
Visual Diagnostic Matrix: What Your Driveway Is Telling You
Before you call anyone, look at what your driveway is actually doing. In our experience, four failures look similar from standing height but come from completely different causes, and each one points to a different repair. Getting the diagnosis right is the difference between a targeted fix and a full reinstall.
- Settling. A broad, gradual dip in one area, often near the garage apron or where the driveway meets a walkway. The pavers themselves may be intact. This is almost always a base issue – the compacted aggregate layer has lost density or the soil under it has moved.
- Rocking. A single paver or a small cluster that shifts when you step on one edge. The base may be fine; what’s failed is the sand bed directly under the unit. Lifting and re-sanding solves this when it’s isolated.
- Cracking. Fractured paver faces or chips along an edge. This points to point-loading – a vehicle corner, a heavy delivery, or a sharp object – or to a paver that was already stressed by a rocking bed underneath.
- Efflorescence. A white, chalky bloom on the pavers or in the joints. It’s a moisture-migration symptom, not a surface stain, and it means water is moving through the assembly where it shouldn’t.
In Richardson you’ll often see settling and efflorescence together, because the same water that drives moisture through the joints is the water that’s finding its way to the base. Read the pattern, not just the spot. One rocking paver is a re-sand. A rolling wave across the whole apron is a base conversation. If you are unsure which of the four you are looking at, the answer usually shows up after a hard rain, when the low spots and the bloom patterns reveal themselves. That is your diagnostic window in North Texas, and it is worth waiting for before you authorize any work.
Why Richardson’s Clay Soil Moves Under Your Pavers
The soil across much of Richardson is heavy, expansive clay, and it behaves very differently from the sandy or gravelly soils that a lot of paver guidance assumes. Expansive clay swells when it holds water and shrinks as it dries. That cycle repeats all year here, especially through the wet-then-dry rhythm of North Texas springs and the sustained dry heat of summer. A driveway base that wasn’t built for that movement is going to telegraph the movement upward sooner or later.
What this means in practice:
- Undercut matters. Borrow material – topsoil or whatever was already on site – does not belong under a driveway. It compacts poorly, holds water, and moves with the clay. Removing it and replacing it with properly graded, compacted aggregate is the step most vulnerable to shortcut.
- Base depth should be specified, not assumed. The right depth depends on traffic, on the soil you actually find when you excavate, and on the paver thickness. A base that is too thin for the loading above it is going to settle.
- Drainage decides the outcome. If water ponds at the edge of the slab or runs back under the pavers, the base will fail no matter how well it was compacted. Grading and edge restraint carry as much weight as the base itself.
- Compaction is a process, not a line item. It has to happen in lifts. Layering too much base at once and compacting only the top leaves loose material underneath that will consolidate under the first year of vehicle traffic.
This is where brand specification earns its keep. When we install hardscape in Richardson, we work from systems built by Belgard, Techo-Bloc, and Unilock, and we match the material to the loads the driveway actually sees. The paver brand matters, but the base and drainage design under it matter more. If your current driveway is failing at the base, the replacement should start from the soil up, not from the paver up.
The Repair Protocol for Sunken Sections
A sunken section caused by clay heave is not the same problem as a sunken section caused by organic material that’s decayed under the pavers. The repair steps diverge at step two, so diagnosing which one you have matters before anything is lifted. Here is the general sequence a trained crew follows; we’re describing it so you can evaluate a bid, not so you can attempt it safely under a car-load of weight.
- Mark and map the failure. Note the extent of the dip, where the low point sits, and whether it connects to an edge or a joint that’s washing out. Photographs after a rain are useful because they show the water path.
- Identify the cause. If the soil under the section is dark, spongy, or clearly organic, that’s decayed material that has to come out. If it’s stiff, dry, cracked clay with a slick surface, that’s a heave-and-shrink problem where the base lost its contact with the subgrade.
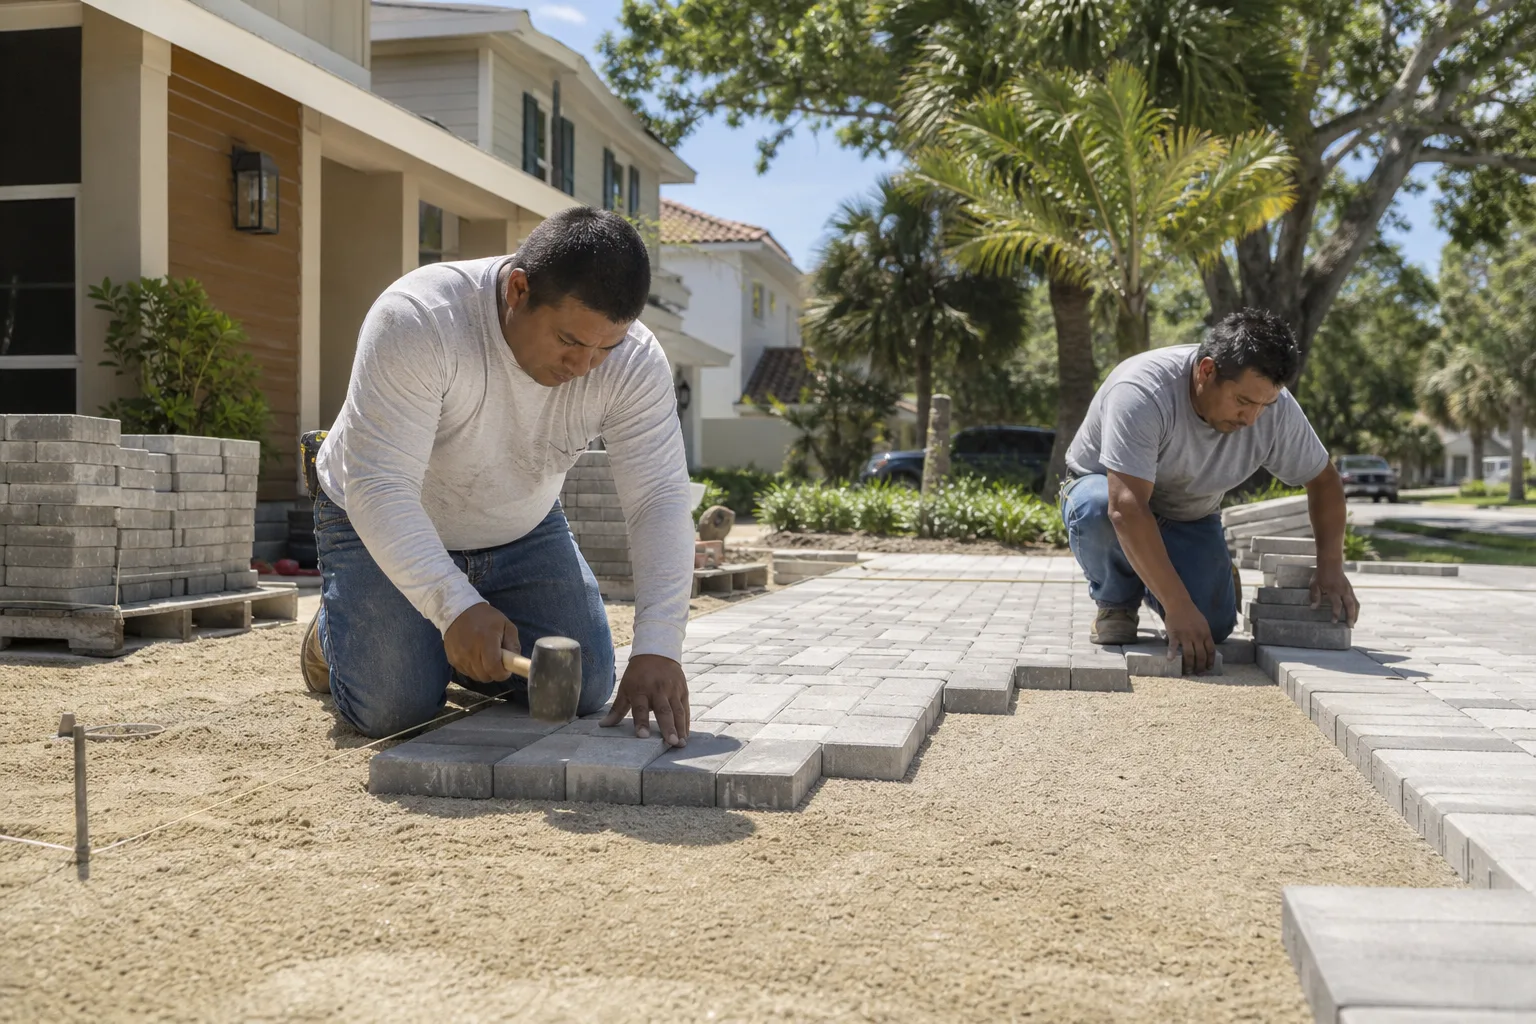
- Lift the pavers. The affected units and a margin around them come up. Undamaged pavers get cleaned, restacked, and reused; a good crew treats the units as salvageable unless they are cracked or spalled.
- Excavate to a stable layer. For organic failure, all the decayed material comes out and is replaced with compacted aggregate, brought back up in lifts. For clay movement, the base is re-graded and re-compacted and the subgrade surface is prepared so the new base has something to bind to.
- Reestablish the sand bed. A consistent screeded sand layer sets the final plane. This is where a lot of quick repairs go wrong – patching a dip with extra sand under a few pavers does not restore the bed.
- Relay, compact, and re-sand. Pavers go back down, the field is compacted, and joints are filled with polymeric sand, installed per the manufacturer’s directions.
What makes this worth doing properly is that the cost difference between a targeted repair and a full reinstall is significant, and the targeted repair is often the right answer when the failure is isolated. When the failure is broad, the honest recommendation is replacement – and a contractor who tells you so, in plain terms, is more useful than one who patches it twice. Our technicians have up to 12 years of experience, and the pattern they see is consistent: catching it at the settling stage is cheaper than catching it after the base has washed out under the whole apron.
Polymeric Sand: When Re-Application Works and When It Doesn’t
Polymeric sand is the second major root cause of paver failure in Richardson, and it’s the one most often misapplied. Applied correctly, it locks the joints, keeps the pavers from shifting, blocks weed growth, and limits water intrusion into the sand bed. Applied incorrectly – installed wet when the joint is damp, or filled short of the required depth – it breaks down within a season and takes the driveway’s structural integrity with it.
When re-application alone will solve the problem:
- The joints are uniformly shallow but the pavers are stable underfoot.
- The sand loss is broad and even, not concentrated at the border.
- There’s no visible settlement and no water pooling at the edge.
- Efflorescence is minor and hasn’t started to lift paver faces.
When re-application will not solve the problem:
- The joint sand is gone along the border or the edge restraint has lifted. That’s an edge failure; filling the joints again will just see the sand wash out.
- Pavers are rocking. Loose units need to be re-bedded before any sand goes in.
- The assembly is holding water. Joint sand won’t fix drainage – grading and edge restraint will.
- There’s a sunken section. Sand in a joint does not lift a paver back to grade; the base beneath has to be addressed.
Correct application depends on dry conditions and the right depth of fill, and it depends on the sand being worked into a joint that has been cleaned out. If a bid offers “re-sand” as a solution to what is actually edge erosion, ask where the water is going and where the restraint runs. In our experience, most border failures in Richardson trace back to missed edge restraint, not to the sand.
How Texas Summer Heat Breaks Down Joint Sand
Richardson summers mean stretches with sustained temperatures at 100°F and above, and that heat shows up on a paver driveway in ways you can anticipate. The sun-facing exposure on a driveway is the hottest surface on most properties. Heat expands the pavers slightly, works the joint sand, and drives off moisture faster than in cooler climates. Between the expansion cycle and the evaporation, joint sand in full afternoon sun degrades sooner than the same product in a shaded walkway.
What that means for maintenance in Richardson:
- Check joints after summer, not during it. Late summer and early fall is when the wear shows – the joints are shallow and the field is at its loosest.
- Plan on a re-sand cycle. For a driveway in full sun, joint sand typically needs attention annually or every other year. That’s a maintenance item, not a repair.
- Watch the joints along the sun-facing edge. The border takes the most thermal stress. If the sand is shallow there first, it’s a maintenance cycle, not a structural problem.
- Keep the drainage clear year-round. Heat-dried clay shrinks, and when the wet season returns, water moves into that cracked clay. If the water can drain, the base holds.
One useful rule of thumb: when the pavers stop looking uniform because the joints have gone shallow, address the sand. When they stop looking uniform because there’s a dip, address the base. Treat those as two different projects and you’ll avoid the classic overpay of a re-sand on what was actually a settlement problem.
Edge Failure and Border Re-Setting
The edge of a driveway is where the failure usually starts in Richardson. The pavers at the border are held by edge restraint – typically a concrete or plastic edge set against a compacted shoulder – and when that restraint is missing, undersized, or has been undermined, the border units start to move. Once they creep, the joint sand in the field has somewhere to go on every rain, and the erosion spreads inward. That’s the pattern most often mistaken for a sand problem.
Recognize the signs:
- Joint sand is missing along the outer edge or along a curve first.
- The border pavers feel loose when you walk the edge; the middle of the drive feels solid.
- You can see the base or the sand bed exposed at the shoulder.
- Water runs off the driveway and cuts a channel along the edge instead of dispersing.
When the failure is confined to the border, the correct fix is to reset the edge restraint, re-bed and re-compact the border units, and restore the shoulder so water leaves the assembly. Re-sanding alone leaves the underlying problem in place and it will return. When the field is also losing sand and the border is the first place it’s showing, check the edge before you assume the sand itself has failed. This is also a good moment to look at the whole exterior at once. A driveway that needs its border re-set is often a driveway that sits next to a fence line the same water is undermining, and fixing one while ignoring the other is a bad use of a call-out. If the fence is in the picture, look at fence installation alongside the driveway scope so the drainage is solved once.
Contractor Red Flags: Questions That Reveal What a Bid Really Covers
The most useful thing you can do with a repair bid is read it for what it says about base and sand. Surface-level repairs are cheap to bid and expensive to live with. Here are the questions that separate a root-cause bid from a cosmetic one.
- “What depth of base are you installing, and why that depth for this load?” A bid that can’t answer with a depth and a reason is pricing the work by feel.
- “Are you removing the existing base, or going over it?” Patching over a failed base layer is the most common shortcut. Ask what comes out, not just what goes in.
- “How will you handle drainage along the edge and at the apron?” If the answer doesn’t include grading and edge restraint, the water will find the same path it found before.
- “Which polymeric sand are you using, and how are you handling the joint prep?” A brand-name answer with a joint-prep sequence is a good sign. A vague “polymeric” is not.
- “What’s the written estimate’s scope – is it a targeted repair or full replacement, and what changes it?” You want a line-item written quote with fixed pricing and a clear statement of what’s included.
- “Will you pull any permits the city of Richardson requires for this scope?” Most driveway work is routine, but a contractor who knows the local rules on setbacks and right-of-way is a contractor who isn’t guessing.
- “What’s the workmanship warranty, and what does it exclude?” A warranty that excludes settlement is not a warranty on the part that fails.
Ask for two or three bids and compare the scope, not just the number. A low bid that re-sands and walks away is cheaper today and more expensive next spring. The materials matter too – a hardscape build specified with Belgard, Techo-Bloc, or Unilock products carries manufacturer warranties that a house-brand paver won’t match, and those warranties are only good if the base is installed to spec. One contractor from permit to punch list is worth a lot when the driveway, the drainage, and the fence line all sit in the same water path. Our team writes a line-item quote and sets the final price in writing, so there are no surprises once work starts.
Common Mistakes to Avoid
- Replacing the pavers without fixing the base. New pavers laid on the same failed base will settle again within the first full wet-dry cycle. The pavers aren’t the problem.
- Treating edge erosion with joint sand. Filling joints where the edge restraint has lifted wastes a season and hides the real failure. Re-set the border first.
- Compacting the base in one lift. Compacting the top of a deep base layer leaves loose material underneath. Lifts of controlled depth are how the base gets its density.
- Skipping the topsoil undercut. Borrow material and topsoil under a driveway act like a sponge in Richardson’s clay. It has to come out.
- Ignoring drainage at the apron. If water runs back toward the garage instead of away, the base at the apron is going to move no matter how good the sand and pavers are.
- Choosing a paver by appearance only. Face style is the last thing to decide. Load rating, thickness, and the base under it come first.
- Skipping the yearly joint check. A shallow joint that’s caught in the fall is a re-sand. The same joint missed for two seasons is edge erosion and border re-set.
See the difference
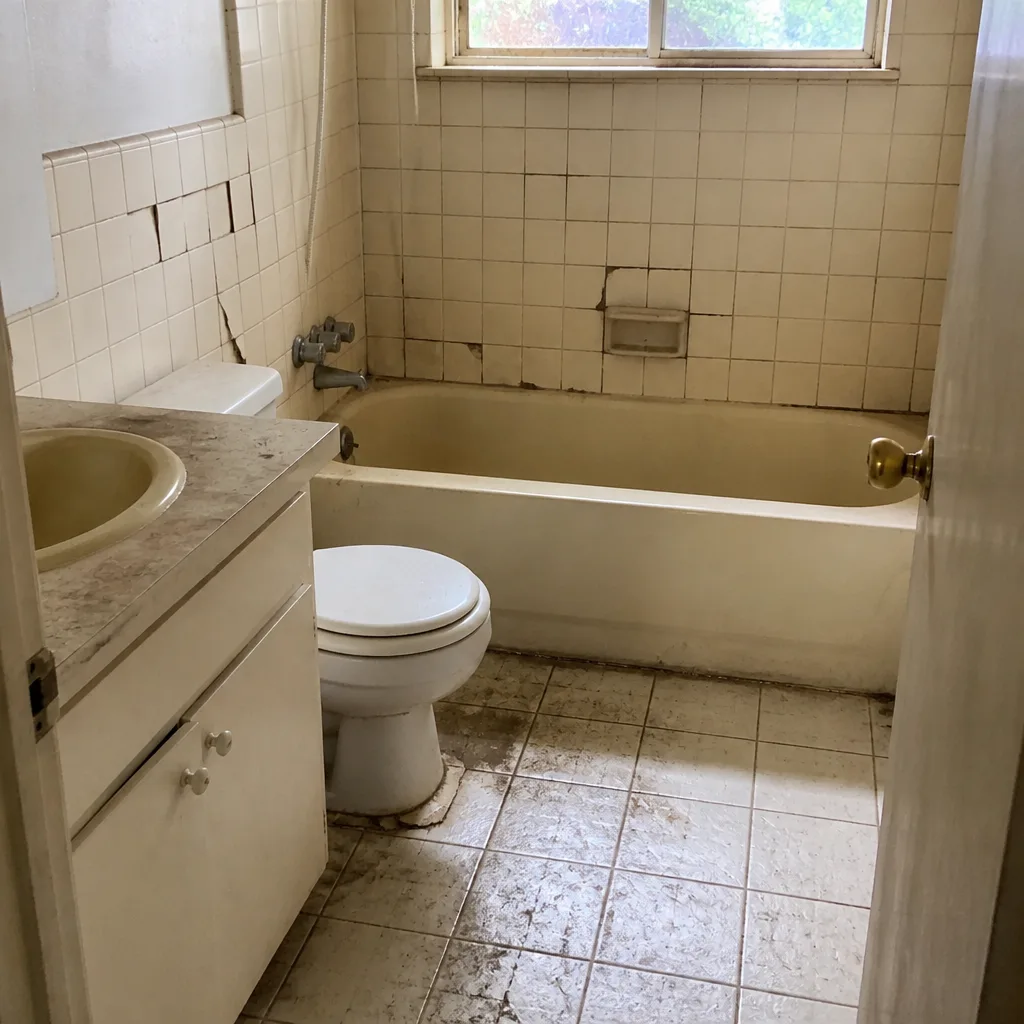 Before
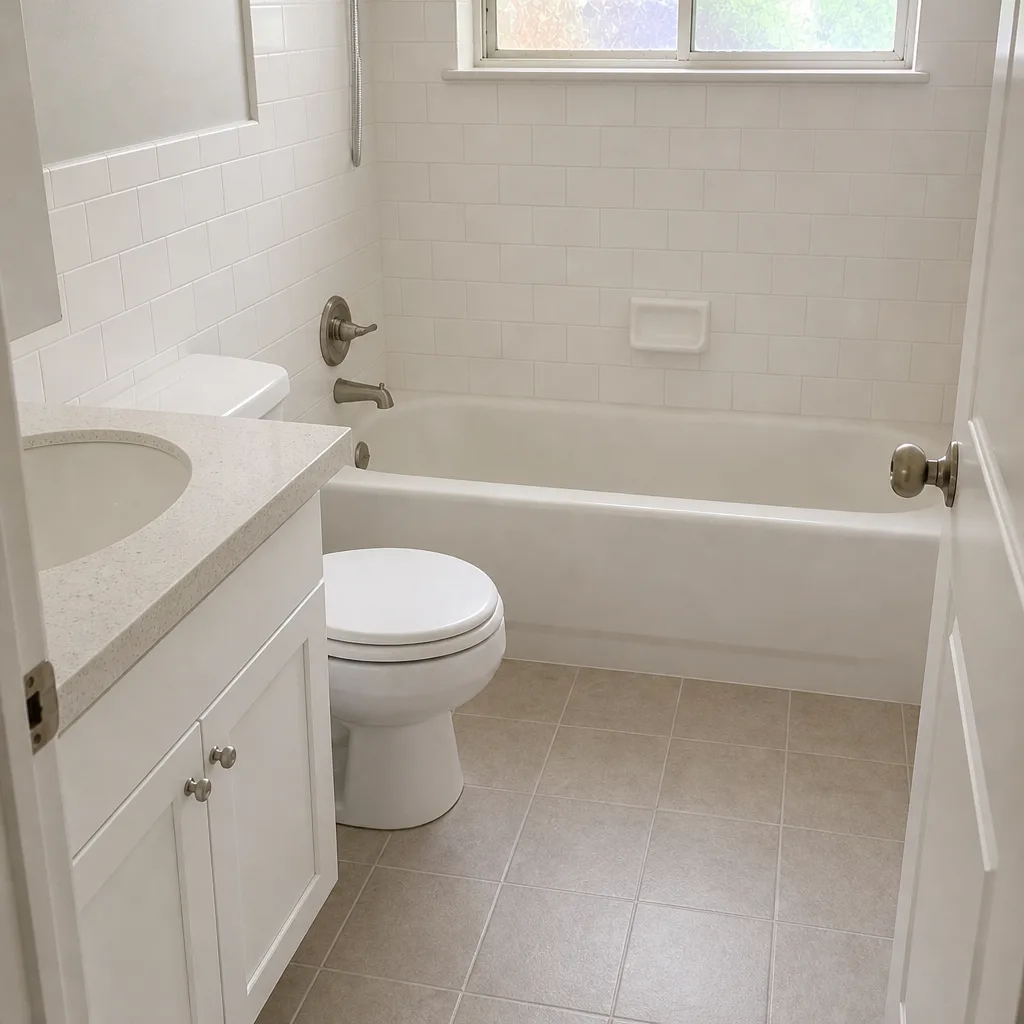 After
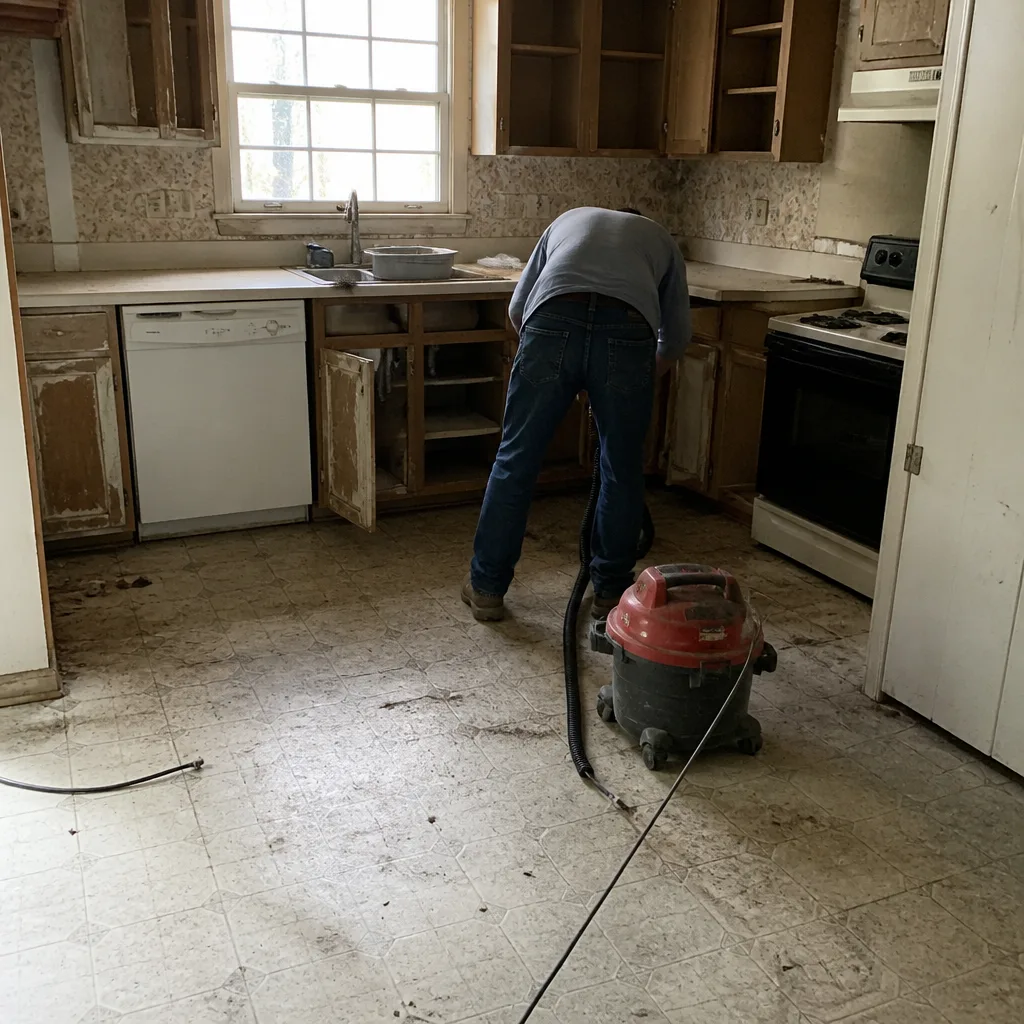 Before
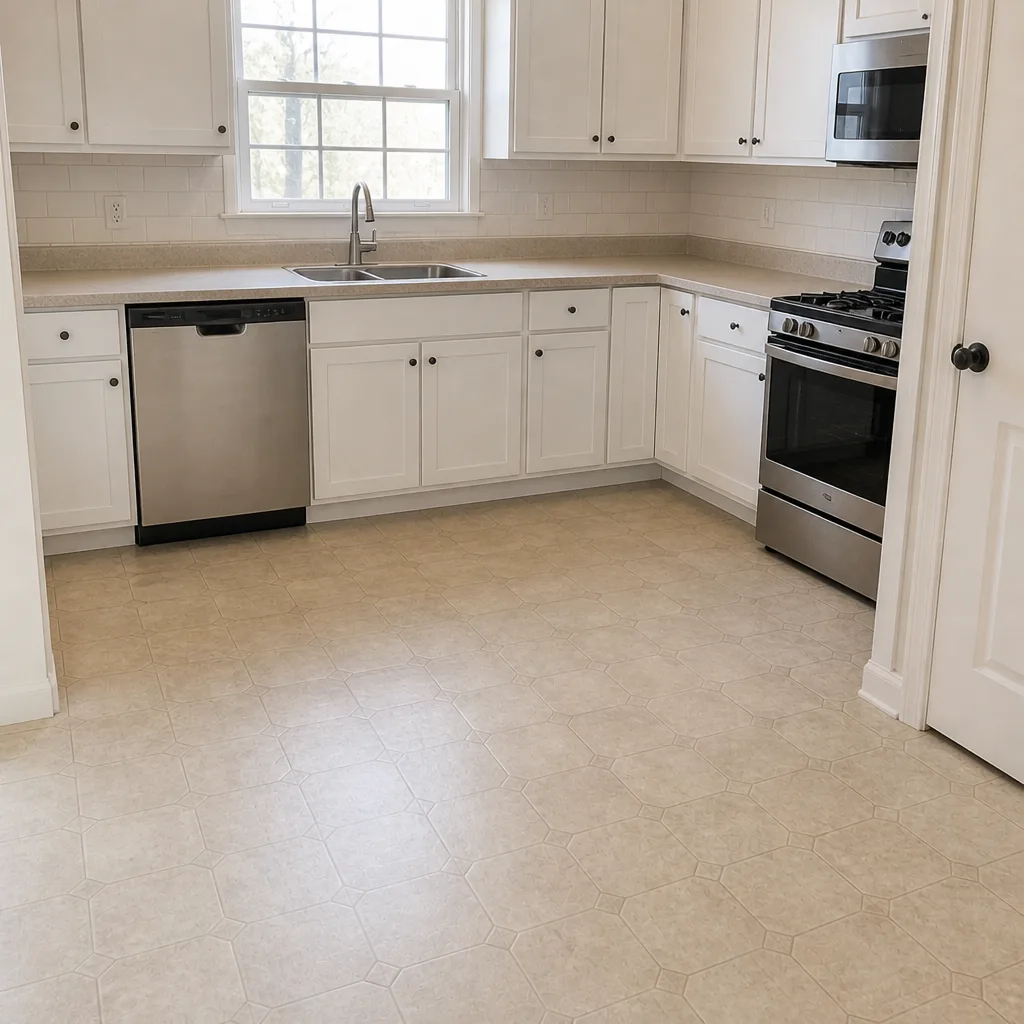 After
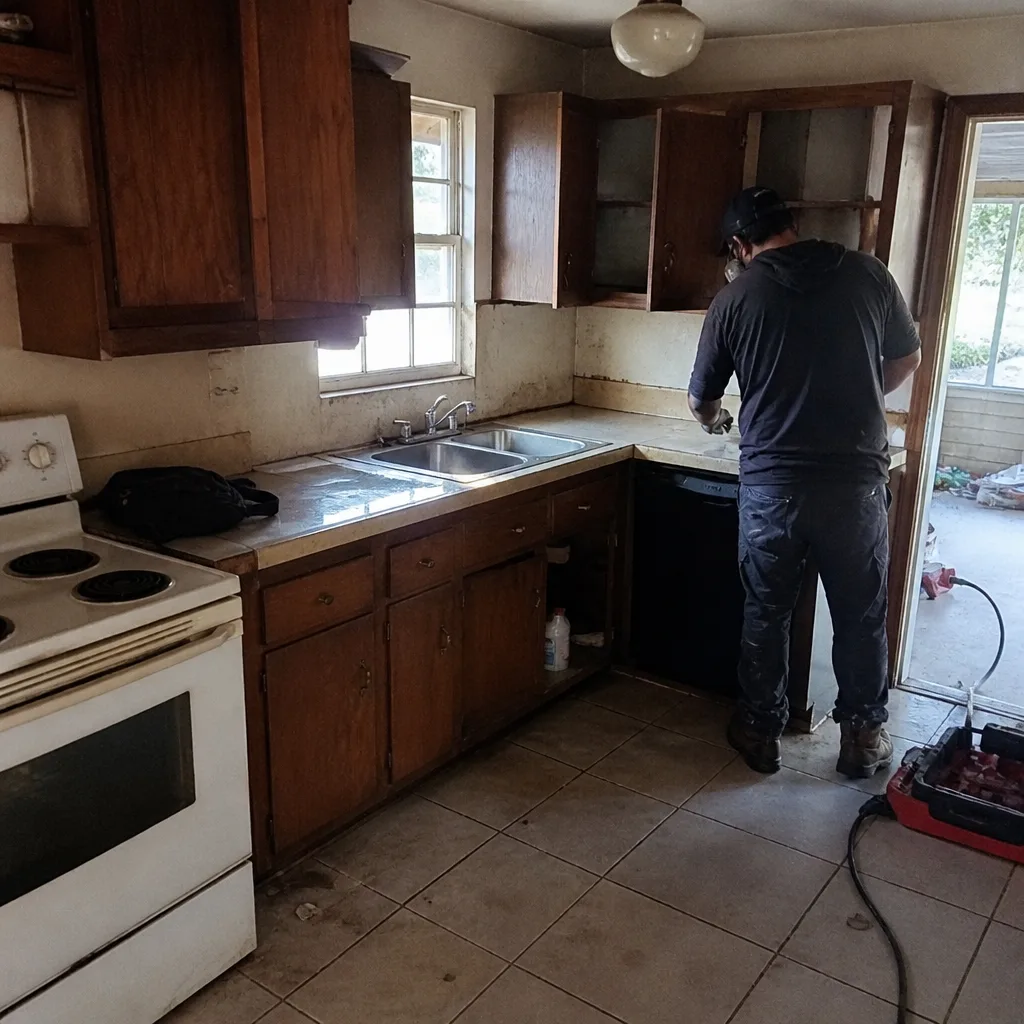 Before
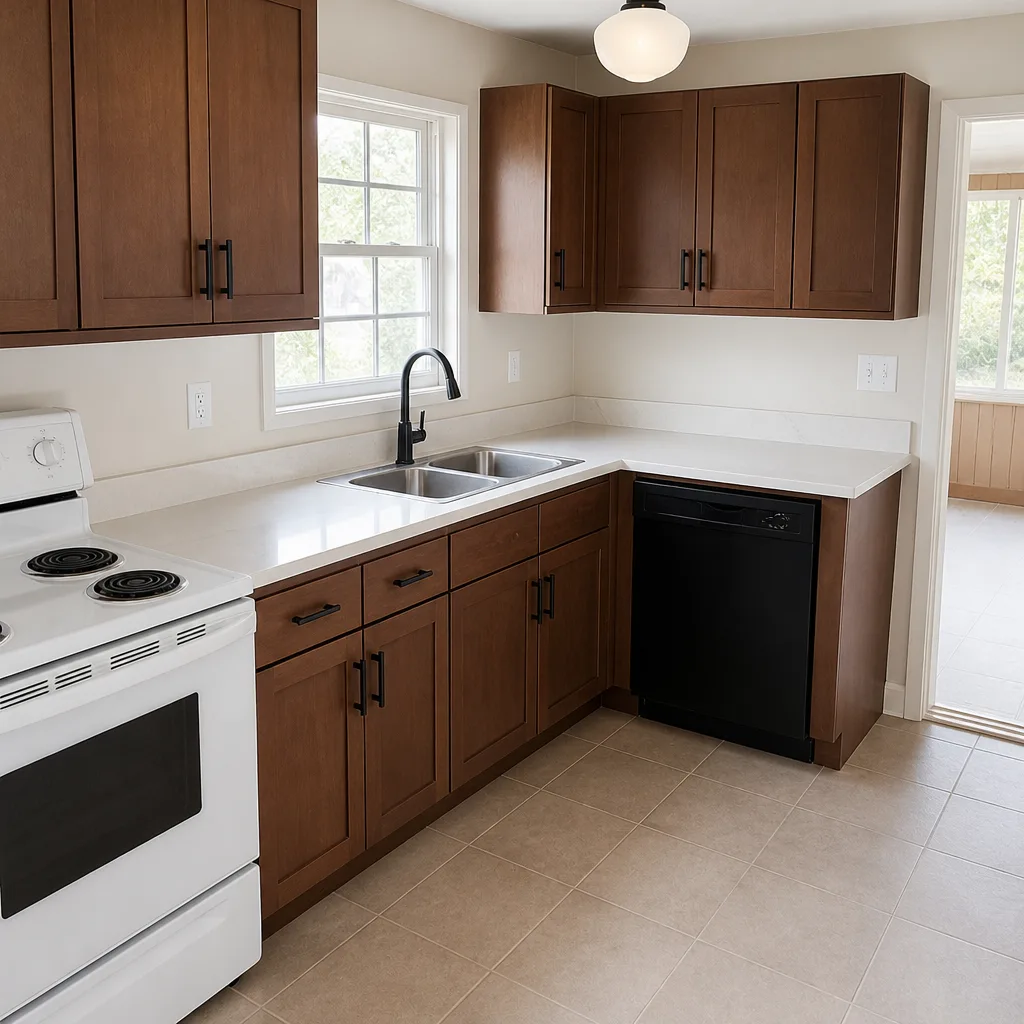 After
When to Call a Professional
Call in a professional when a section of pavers is rocking significantly, when the border is lifting or sand is washing out along an edge, when efflorescence keeps returning after cleaning, or when a dip is spreading. Those four patterns all point to the base, the edge, or the drainage, and none of them are solved by sand alone. Safety matters too: lifting a paver near a vehicle apron means working under a loaded surface, and a staged repair is harder to do safely without proper compaction equipment. Construction Richardson offers free estimates in Richardson – call (844) 320-6637 to schedule yours. If you’re planning a replacement rather than a repair, our driveway & pavers page covers the full scope, from base design to finish, and we can quote a repair against a replacement so the decision is clear. We bring hardscape products from Belgard, Techo-Bloc, Unilock, Tremron, and Cambridge Pavers, so the material choice is specified, not assumed. And when the same project includes a gate or fence line that the drainage has been affecting, we handle it in the same scope.
Frequently Asked Questions
Typical estimated ranges in Richardson are $250 to $600 for a small joint re-sand, $400 to $1,200 for a localized lift-and-rebed repair on a sunken section, $1,500 to $3,500 for a border or edge-restraint reset, and a full driveway replacement runs well above that. The written estimate sets the final price, and getting a line-item quote is the only way to know which scope your driveway actually needs. Call (844) 320-6637 for a free estimate.
A paver driveway keeps sinking in the same spot when the base under it isn’t holding, not because the pavers are bad. In Richardson, that’s usually expansive clay movement or decayed organic material under the section. Replacing the pavers without excavating and rebuilding the base is what causes the repeat sink.
You can re-sand shallow joints on stable pavers yourself if the field is solid and dry, but if the pavers are rocking, the border is lifting, or water is pooling, the sand is the symptom and a professional needs to look at the base or the edge restraint. Call (844) 320-6637 and we’ll tell you which category you’re in before you buy a bag of sand.
No, when the quote is a written line-item estimate with fixed pricing. The scope is defined before work starts, and if a subsurface condition changes what’s needed, that comes back to you as a separate approval before anything is added. Call (844) 320-6637 to schedule a free written estimate.
An isolated lift-and-rebed repair is usually a one to two day job, and an edge or border reset is often similar. Anything that involves rebuilding base under a wide section takes longer and depends on the excavation depth and compaction schedule. Call (844) 320-6637 for a timeline tied to your actual scope. We answer 24/7.
Efflorescence – a white bloom on the surface or in the joints – is caused by moisture migrating through the assembly and drying at the surface. Cleaning the surface without fixing the water path means it returns. If it keeps coming back, the drainage and edge restraint under and around the pavers need to be inspected.
The Bottom Line
Most paver problems in Richardson come back to two root causes: a base that wasn’t built for expansive clay and traffic loading, and polymeric sand that wasn’t installed correctly or hasn’t been maintained through the summer heat. Read the pattern before you call – settling is a base issue, rocking is a sand bed issue, edge erosion is a restraint issue, and efflorescence is a moisture issue. Targeted repairs are available and they’re cheaper than a full reinstall, but only when the diagnosis is right and the repair goes to the root rather than the surface. A written line-item estimate is the best protection against paying for a fix that won’t last.
If you’re ready to get a real diagnosis, call (844) 320-6637. We answer 24/7, with fast dispatch from 7am to 7pm, Sunday through Friday. Estimates are free, the quote is written with fixed pricing, and any required permits are handled in scope. When the project grows beyond the driveway – a widened parking apron, a new walkway, or a home addition that changes the grade – our home additions & ADU and Construction Richardson teams coordinate the whole build under one contract. Structural or cosmetic, driveways or floor plans, we handle both.
Written by the team at Construction Richardson.