
Last updated November 17, 2026
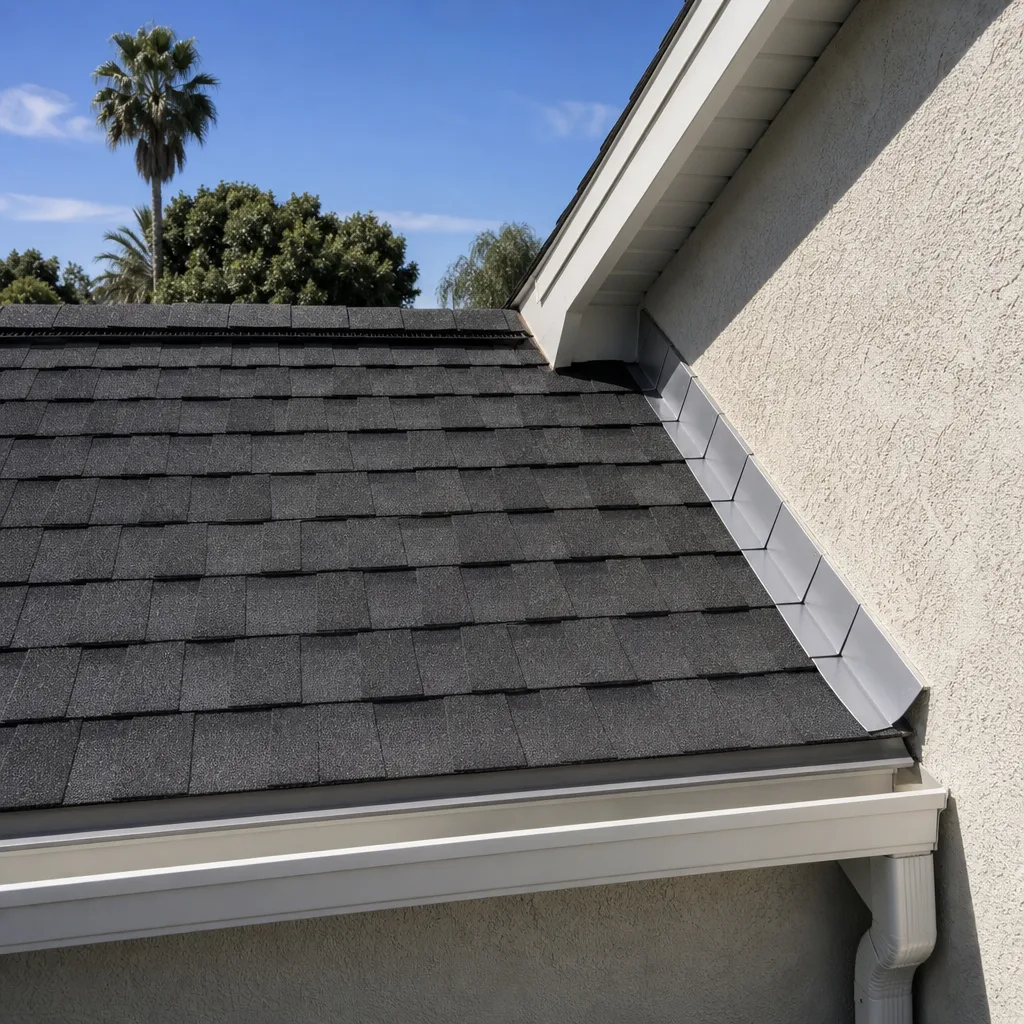

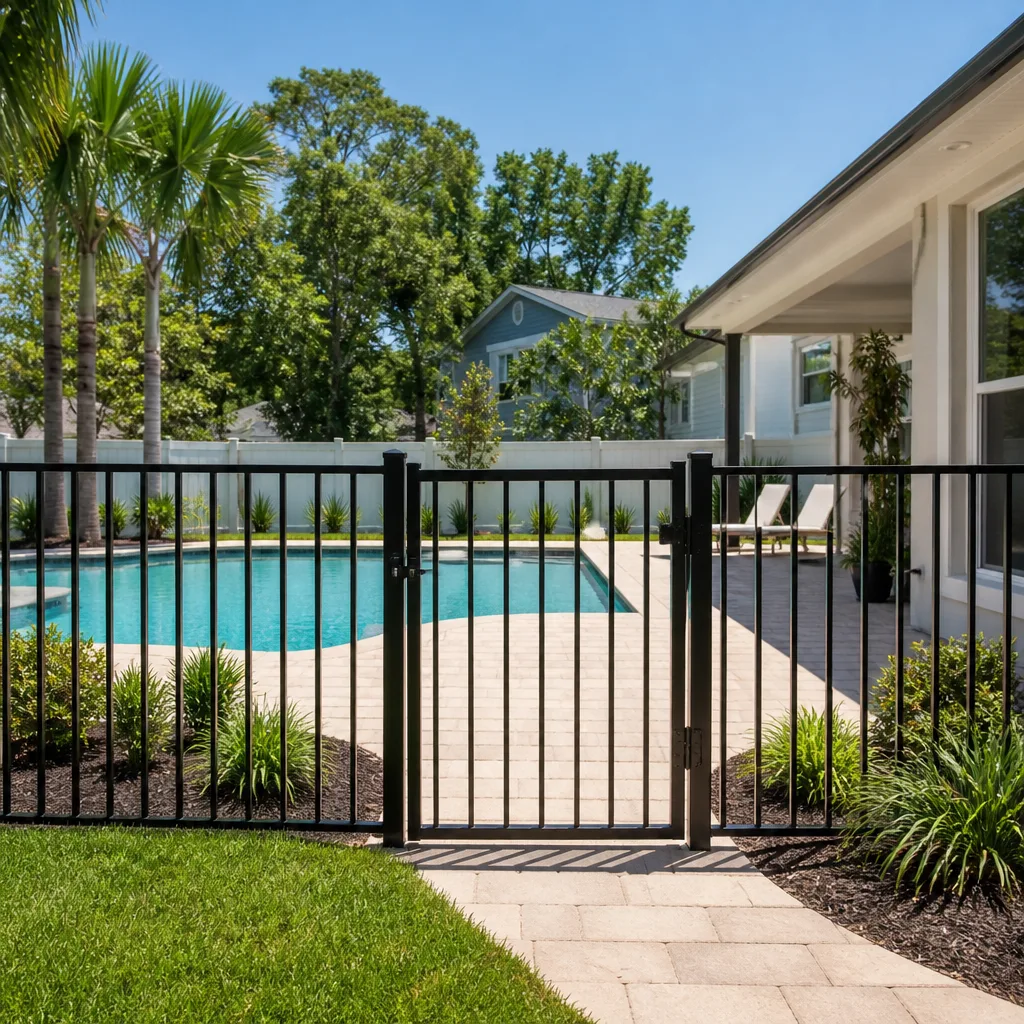





Free written scope consultation - allowances, timeline, and change-order rules on paper before a single trade is scheduled
Construction Emergency Preparedness Guide for Richardson Homes
Most homeowners treat construction emergencies as something that happens to them, not something they can plan for. That’s the misconception this guide exists to correct. In Richardson, damage from hail, high wind, and heavy rain follows patterns, and so does the paperwork that decides who pays for the repair. The homeowner who documents first and calls second almost always ends up in a better position than the one who signs a contract in a panic. Below, we walk through the first-24-hours protocol for the four emergencies Richardson homes face most, how to document damage before anyone walks your property, what you can legally do yourself, and how to tell a legitimate contractor from a storm chaser.
Quick Answer
For a construction emergency in Richardson, secure the property first, photograph and measure everything before any contractor or adjuster sets foot on it, and only then call for repairs. Storm damage, foundation movement, water intrusion, and failed fencing or retaining walls each have a specific first-day sequence. Doing the documentation step before the repair step is what protects your insurance claim and your wallet.
Styles & brands we work with
- Kitchen remodeling
- Bathroom remodeling
- Home additions & ADU
- Roofing
- Windows & doors
- Driveway & pavers
- Fence
Table of Contents
- Your First 24 Hours After Damage
- How to Document Structural Damage Before Anyone Arrives
- Roof Damage After Hail and Wind
- Foundation Shift and Soil Movement
- Water Intrusion and Interior Damage
- Storm-Damaged Fencing and Retaining Walls
- Temporary Stabilization vs. Permitted Repairs
- Spotting Storm Chasers in the Richardson Area
- Pre-Event Preparation: What to Keep on File
Your First 24 Hours After Damage
The first day after a storm or a structural failure sets the tone for everything that follows. Your job in that window is not to fix anything. It’s to record what happened, stop further damage where it’s safe to do so, and get the right people scheduled in the right order. Here’s how we’d sequence it.
- Make the property safe. Keep people and pets out of any room with sagging ceilings, standing water near outlets, or loose structural material. If you smell gas or see sparking, leave the house and call 911 first.
- Photograph before you touch anything. Wide shots of each affected area, then close-ups, then a photo with a tape measure in frame next to every crack, gap, or missing section. Write down the date and time.
- Document water with a moisture reading if you have one. A cheap pin meter gives you a number the adjuster can use. If you don’t own one, photograph the visible water line and note how high it reached.
- Tarp or board up only what is safe. A loose shingle flap, an open window, or a fence section hanging into a walkway can be secured. Electrical, gas, and roof-edge work cannot.
- Call your insurer and open the claim. Ask for the claim number and the name of the assigned adjuster in writing, by email or text.
- Book an inspection. A licensed contractor’s inspection gives you a scope of work independent of the insurer’s estimate. That second opinion is where fair settlements come from.
Notice what isn’t on the list: signing anything. No contractor should be putting a contract in front of you on day one. If they do, that’s your cue to slow down.
How to Document Structural Damage Before Anyone Arrives
The difference between a fair insurance settlement and a lowball offer is almost always the quality of your documentation, and most homeowners start documenting too late, after a contractor or adjuster has already walked the property. Once someone else has been on site, your record competes with theirs. Build your own record first, and make it precise.
The photos that actually matter
- Establishing shots. One wide photo per elevation of the house and one per damaged room, taken from the doorway or from the street corner.
- Mid-range context. The damaged area plus its surroundings, so the adjuster can tell where on the house it sits.
- Close-ups with scale. Every photo of a crack, hole, or gap should include a tape measure or a coin for scale. A crack looks like nothing without a reference.
- Overlapping coverage. Shoot in a sequence that overlaps by about a third, so no section can be argued as “not shown.”
- Metadata intact. Photograph with your phone’s location and timestamp on, and do not edit or crop the originals. Keep the untouched files.
The measurements that matter
Write these down in a notebook and photograph the notebook page. Crack width in sixteenths of an inch and the direction of the crack (vertical, stair-step, diagonal). Ceiling stain diameter. Depth of standing water. A rough count of damaged shingle squares or fence panels. The distance a fence post has leaned out of plumb. None of this requires a tool beyond a tape measure, and all of it makes your claim specific rather than impressionistic.
Keep a paper trail
Every call with your insurer gets a date, a name, and a two-line summary written down the same day. If a contractor visits, note the company name and the time. If you’re in a Richardson neighborhood hit by the same storm as your neighbors, ask them to document their own properties the same way. Corroborating documentation carries weight.
For the repair side, you’ll eventually need professionals who work from a written scope. Our Construction Richardson team builds line-item estimates from exactly this kind of documentation, which means the repair plan and the claim talk to each other instead of contradicting each other.
Roof Damage After Hail and Wind
Hail doesn’t always leave a hole. What it leaves is bruised shingle mat, granule loss, and dents in soft metal that a trained eye can read and an untrained eye can’t. That’s why roof damage is the emergency where the gap between a documented claim and an undocumented one is widest in Richardson.
What to look for from the ground
- Granules collecting at the base of downspouts, in gutters, or in a pile under a valley.
- Shingle tabs that are lifted, curled, or missing entirely on one slope.
- Dents or dimples on gutters, downspouts, vent caps, and the metal flashing around chimneys.
- Water stains on ceiling drywall near exterior walls or under valleys.
- Daylight visible through roof deck boards from inside an attic access.
What not to do
Do not walk the roof. Hail-damaged shingles can be brittle and slick, and the fall risk to a homeowner is real. If a tarp is needed, that’s a licensed roofer’s job, and a tarp placed badly can trap water and cause more damage than the missing shingles. Note where the damage appears to be, photograph it from the ground with a zoom lens, and have a professional inspect.
The inspection step
Ask the roofer for a written inspection that names what’s damaged, what’s not, and what the manufacturer’s warranty says about the current system. Roofing material warranties from GAF, CertainTeed, and Owens Corning all hinge on proper installation, so a repair that ignores the original install specification can void the warranty you’re counting on. When we quote a roof repair or replacement in Richardson, the estimate should always name the system and the manufacturer, not just a shingle color.
The claim side matters too: ask your insurer whether they want an independent inspection before they send their adjuster, and keep the roofer’s report in your file. Most roof claims in this climate are ultimately decided on documentation and the quality of the repair scope, not on how loudly anyone argues.
Foundation Shift and Soil Movement
Richardson sits on expansive clay soils, and that clay moves with moisture. When a long dry stretch ends with heavy rain, the soil under and around a slab swells unevenly, and the slab lifts and tilts with it. The result shows up inside the house as stair-step cracks in brick, drywall cracks radiating from door corners, doors that suddenly stick, and gaps at window corners. Foundation movement is the emergency where homeowners most often wait too long, because the damage looks cosmetic at first.
Signs that need a same-week look
- Stair-step cracking in exterior brick or masonry, even a quarter inch wide.
- Doors or windows that no longer latch, or that close with a corner binding.
- Drywall cracks wider than a hairline that run from a door or window corner.
- Uneven floors that feel like a slope underfoot, or a hollow sound under tile.
- Gaps where the slab meets the exterior wall, or a crack running across a garage floor.
How we look at a foundation call
A foundation concern isn’t automatically a foundation repair. In our experience, the first step is establishing a baseline: photograph and measure the cracks, record the date, and check them again in a couple of weeks. Cracks that grow are a different case from cracks that are stable. From there, a licensed professional evaluates drainage, soil moisture, and slab condition before recommending anything. That order matters, because soil moisture and drainage fixes often solve the problem at a fraction of the cost of slab work.
Stabilization work on a foundation is never a homeowner task and never a no-permit task. Before any underpinning, pier, or slab repair begins, verify the required municipal permits and inspections are in place. A contractor who says permits aren’t needed for foundation work in Richardson is telling you something important about how they operate. Ask for a written scope, a permit plan, and a schedule before work begins.
Water Intrusion and Interior Damage
Water damage is a timer. The visible damage is rarely the expensive part; what happens behind drywall over the next week is. Whether it comes in through a failed window seal, a flashing detail, or a roof penetration, the response is the same.
- Stop the source if it’s safe. Shut off the water supply at the fixture or the main if an interior line is leaking. Do not open walls or wiring to find the leak yourself.
- Photograph and measure before removal. Water line height, moisture readings, affected square footage of flooring and drywall. This is your claim basis.
- Remove standing water and dry aggressively. Fans and a dehumidifier in a closed room for at least a few days. Wet drywall that’s wet for more than a couple of days is usually a remove-and-replace call.
- Check for hidden spread. Wet insulation, wet subfloor, and wet framing inside a wall rarely announce themselves. A moisture meter is the tool that finds it.
- Get a professional moisture assessment. A licensed contractor or restoration specialist confirms whether the structure is dry before you close it back up.
The window and door question
In Richardson, a surprising share of interior water intrusion traces back to a window or door that’s failed at the perimeter, not the unit itself. Sealant has a service life, and a window that’s been through several seasons of thermal cycling can leak at the frame while the glass looks fine. If the leak is at a window or door, a proper repair means pulling the trim, checking the flashing and the frame, and re-sealing to manufacturer spec. Windows and doors supplied by manufacturers like PGT, CGI, and Therma-Tru are engineered to be installed to a specific detail; a repair that ignores that detail is a repeat leak waiting to happen.
Get this repaired by a professional, not as a weekend project. Water intrusion is one of the few repair categories where an incorrect DIY fix causes structural damage rather than just a cosmetic shortcut. For a full bathroom or kitchen area affected by water, that work should fold into a proper remodel plan rather than a patch, and the same team that documents the damage should scope the repair.
Storm-Damaged Fencing and Retaining Walls
Fence damage is the emergency that homeowners most often underestimate. A leaning post, a fallen panel, and a retaining wall that’s shifted after heavy rain are all more than a cosmetic problem. A fence that has lost structural continuity can fall onto a vehicle, a neighbor’s property, or a person, and a retaining wall that has moved is holding back soil with substantial force.
First-day steps for fence and retaining wall damage
- Photograph the full run, then each damaged section with the post or panel in frame, then a close-up of the failure point.
- Note whether the damage is wind-driven (panels lifted or leaned), impact-driven (struck by debris), or soil-driven (posts heaved or leaning after rain).
- Keep people and pets away from any wall that has visibly tilted. A wall that leans toward the house is a higher concern than one leaning away.
- Do not cut or re-set a retaining wall or a buried post yourself. Digging near a footing or a buried footing post can cause the wall to fail further.
- Call a professional for inspection the same day for any retaining wall movement, and within a few days for fence damage.
Material matters for the repair
How a fence fails tells you what to replace it with. A vinyl system that shattered in a wind event is often better replaced with a heavier-gauge product or an aluminum system that flexes rather than breaks. In Richardson, we routinely work with vinyl systems like Bufftech and ActiveYards, and aluminum systems for the long runs where wind exposure is highest. Retaining wall materials from Belgard and Unilock are engineered for specific height and soil conditions, and matching the wall to the site conditions is what stops a repeat failure. The repair should be specified by material and system, not by what’s closest.
A fence replacement is a good time to plan the whole exterior. If the fence and the driveway both failed in the same storm, our fence installation and driveway & pavers teams scope the work together so a single plan covers the whole property. When you add livable square footage at the same time, the home additions & ADU team folds that scope in too, so the exterior and the structure move on one schedule.
Temporary Stabilization vs. Permitted Repairs
There’s a clear line in Richardson between what a homeowner can legally do immediately after damage and what requires a permit and a licensed contractor. Getting the line right protects you legally and keeps your claim clean.
What homeowners can typically do without a permit
- Move furniture and belongings out of the affected area.
- Place buckets, fans, and dehumidifiers.
- Board a broken window with plywood from the exterior, only if it’s safely reachable from the ground.
- Tarp a small, low-slope roof area only if you can do it flat-footed from a ladder with a second person holding the ladder, never from the roof surface. When in doubt, don’t.
- Shut off the water or gas at the main if the situation calls for it.
- Remove wet carpet and padding, which is a demolition task rather than a structural one.
What requires a permit and a licensed contractor
- Any structural repair, including foundation, framing, or load-bearing wall work.
- Roof sheathing or structural roof repair beyond a minor shingle replacement.
- Electrical, gas, and plumbing repair.
- Retaining wall repair or replacement above the height threshold your city requires.
- Window and door replacement where the opening or the structural header is affected.
- Any repair where the work changes the building envelope in a way that affects weather resistance.
Permit thresholds and requirements are set by the city, and they can change. Before any repair begins, call the City of Richardson’s building department and confirm what a permit covers and what inspection your project needs. Then ask your contractor to show the permit before work starts. A written scope, permit in hand, and inspections passed are the three markers of a repair you can count on. We build every quote with that sequence in mind, and we encourage clients to verify each step themselves.
Spotting Storm Chasers in the Richardson Area
After a major weather event in Richardson, out-of-area crews arrive fast. Some do solid work; many don’t. The verification steps below take ten minutes and are the single most valuable thing you can do when comparing contractors.
The verification checklist
- Truck and paperwork address. A legitimate local contractor has a verifiable business address in the metroplex they’ll give you in writing. Ask for it and check it independently.
- Written license and insurance confirmation. Ask for the certificate of insurance, the license or registration that applies to their trade, and a written scope before signing anything.
- No cash-only, no deposit upfront without a contract. A large deposit before permits and before any material order is a red flag. Ask for a written schedule that ties payments to completed work.
- No pressure to sign today. A legitimate contractor will let you take the estimate home and sleep on it. High-pressure language about “today only” pricing is disqualifying.
- A verifiable local reputation. Ask for references from jobs in Richardson, and ask specifically what happens after the work is done if a problem shows up.
- A real scope of work, not a total. An estimate should name the system and the material, not just give one number. Roofing scope names the manufacturer. Fence scope names the system. Cabinet scope names the line. If the estimate doesn’t name anything, it isn’t an estimate.
What a legitimate estimate looks like
Our estimate on a storm repair starts with documentation of the damage and works into a line-item scope: what’s being replaced, which system is being used, how long the work will take, and what permits apply. We’ve built our process around the belief that a homeowner comparing two contractors should be able to see exactly where the scope differs. If one quote is $10,000 and the other is $16,000, the line-item detail is what shows you why, and it’s the difference between a cheaper repair and a repair that holds.
Run the checklist on us too. Any contractor worth hiring will welcome it.
Pre-Event Preparation: What to Keep on File
The best time to prepare for a construction emergency is before one happens. The homeowners who handle the aftermath best already have a folder of information on hand. Here’s what belongs in it.
The system documentation file
- A recent roof inspection report with the manufacturer, install date, and warranty documents.
- The window and door specifications, with a photo of the manufacturer label on each unit.
- A fence survey noting material (vinyl, aluminum, ornamental), product line, and post layout.
- The paver and hardscape specs for the driveway, patio, and retaining walls.
- The kitchen and bath fixture, cabinet, and surface brands and models, or a photo of each spec sheet.
- A copy of your insurance policy with the coverage lines highlighted, and the claim phone number.
The pre-event checklist
- Walk the property and photograph it now. Every elevation, every fence line, every exterior detail. Label and store it in the cloud.
- Check the gutters and grading. Downspouts should discharge away from the foundation. Low spots near a slab are the first place water collects.
- Verify the roof flashings. A loose flashing or nail pop is a water entry point before the storm and a claim dispute after.
- Photograph and measure any existing cracks. Baseline documentation matters when a claim is questioned about pre-existing damage.
- Note the trees. A limb that overhangs a roof is a known hazard. Document it now so the claim cannot be spun against you.
- Confirm your insurance deductible. Knowing your number prevents panic decisions when an adjuster tells you the repair cost.
Why this file matters
When a storm hits Richardson, the homeowner with a system file can answer the adjuster’s questions in minutes and compare quotes against a real baseline. That advantage is worth the hour it takes to assemble the file. One contractor from permit to punch list is the model that makes this easiest, because the same team that documents the system today is the one that repairs it later.
Our technicians have up to 12 years of experience reading these systems, and we specify by name rather than by guesswork because the name is the record. Whether you’re comparing roof warranties from GAF, CertainTeed, or Owens Corning, or evaluating a fence system like Bufftech or ActiveYards for a long wind-exposed run, the brand and the spec go in the file.
Common Mistakes to Avoid
- Letting a contractor or adjuster on the property before you photograph the damage. Your record should be first. If someone else is on site first, your documentation competes with theirs for the rest of the claim.
- Signing a contract in the first 24 hours. Panic contracts almost always contain scope gaps. Give yourself a day, get a second estimate, and read the scope twice.
- Ignoring foundation cracks because they look cosmetic. In Richardson’s expansive clay, a stair-step crack that grows is a bigger story than it looks. Measure it now and re-measure in two weeks.
- Cutting a retaining wall or a buried post yourself. Digging near a footing can turn a stable wall into a failure. Stabilization of a retaining wall belongs to a licensed professional, every time.
- Paying a large deposit before the permit is pulled. The permit is your evidence that the scope has been reviewed. A contractor who wants the deposit first is asking you to take on the risk.
- Hiring on price alone after a hailstorm. Two quotes on the same roof can differ by thousands of dollars because the specifications are different. Compare the material line, not the total.
- Assuming your existing roof warranty covers the repair. Most manufacturer warranties are strict about who performs the repair and how it’s installed. Verify the coverage before you choose a roofer, not after.
See the difference
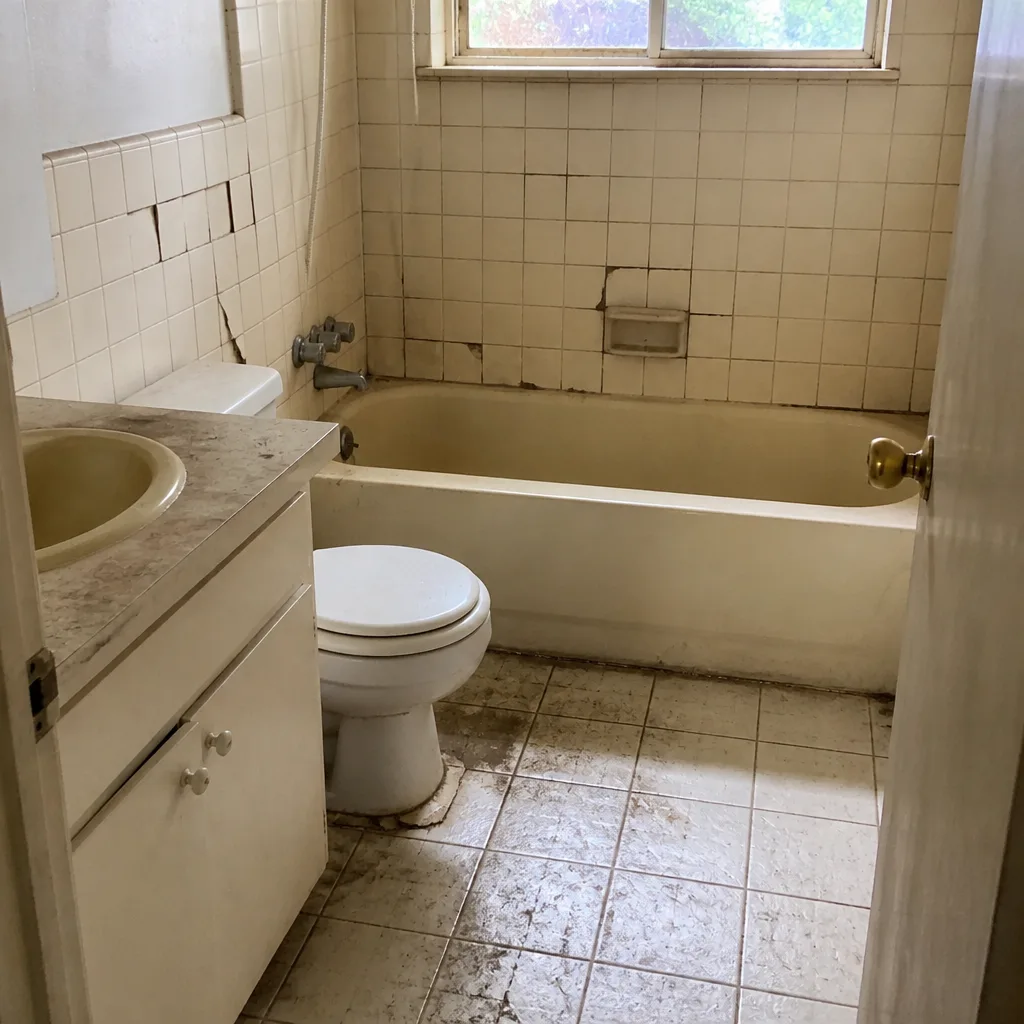 Before
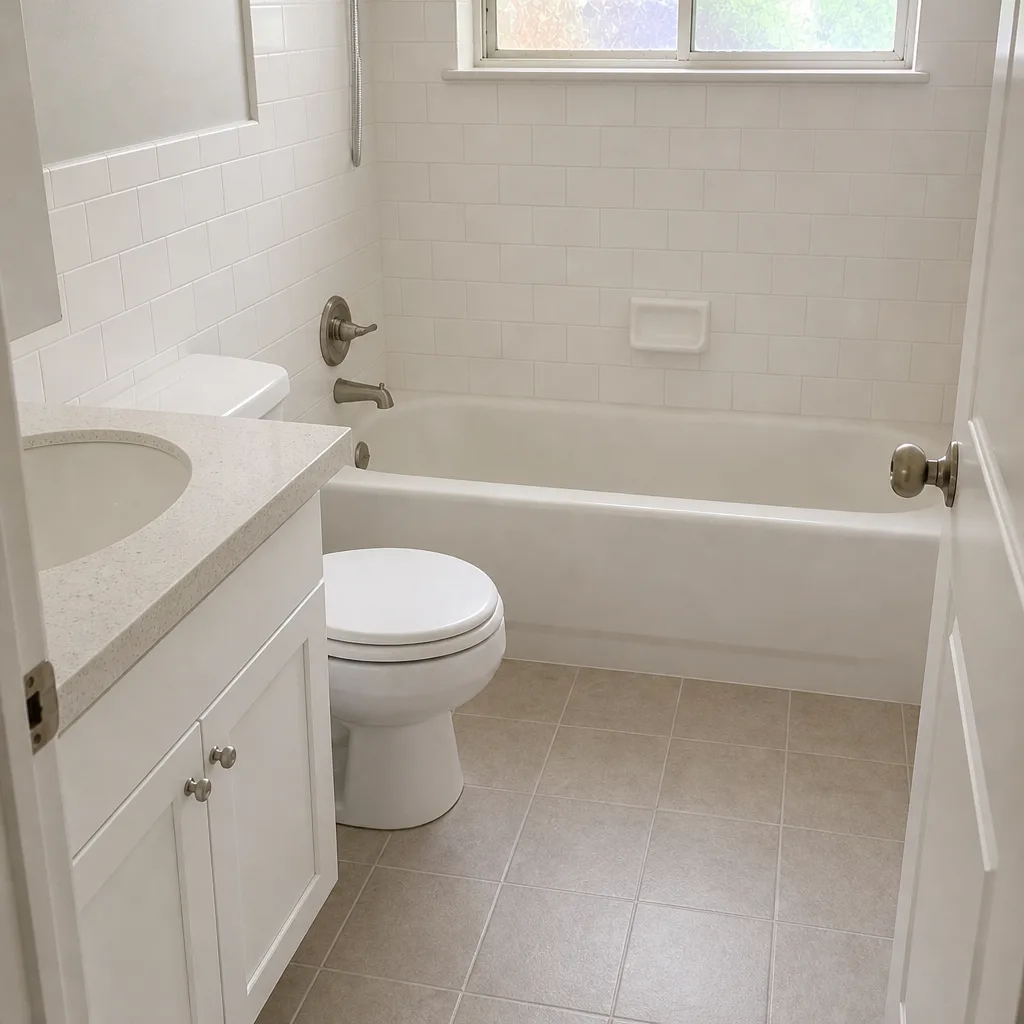 After
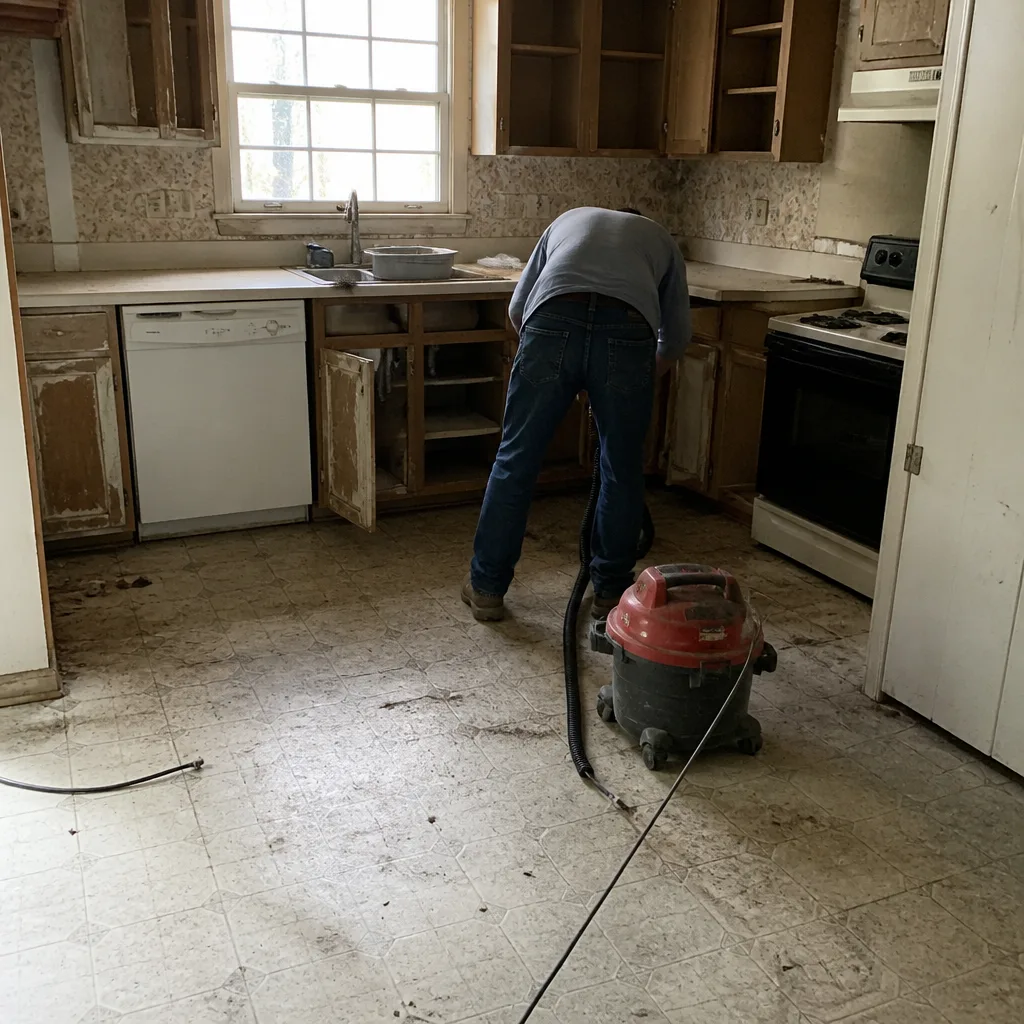 Before
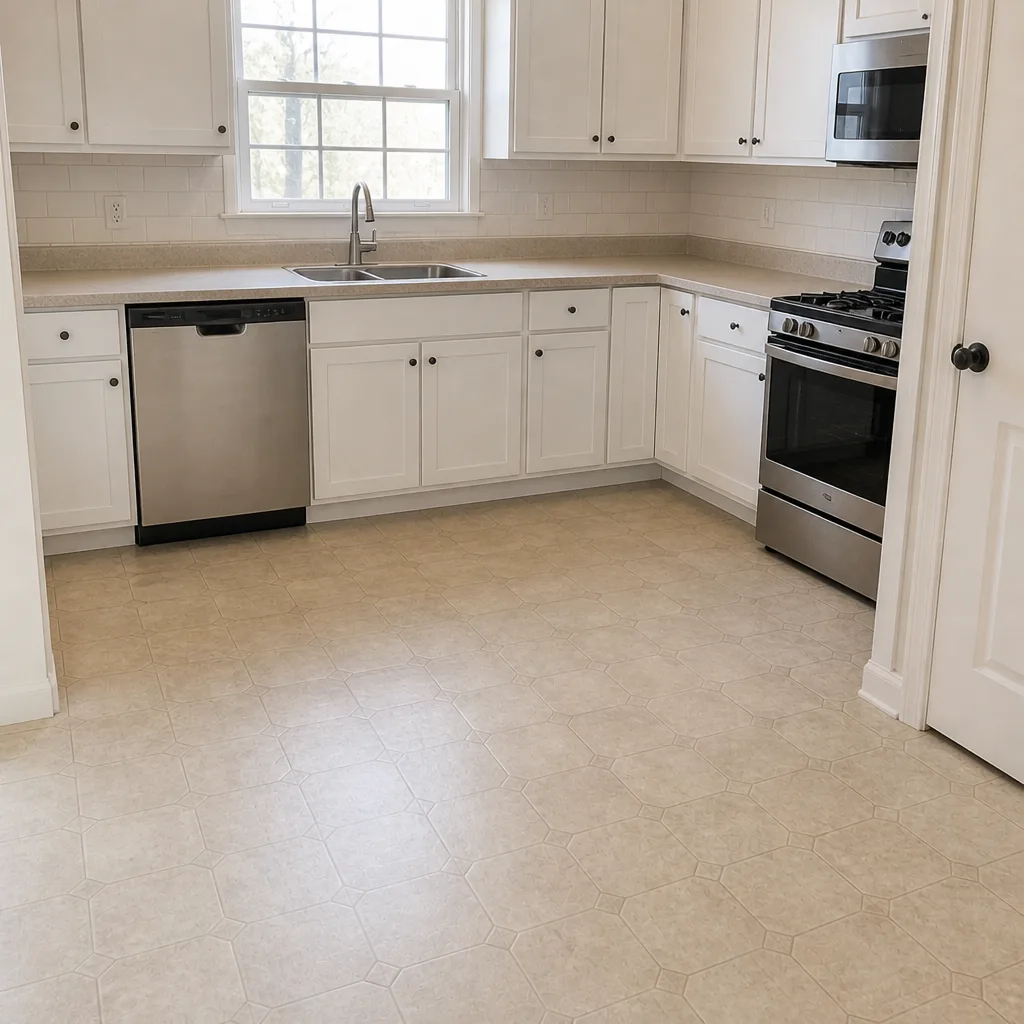 After
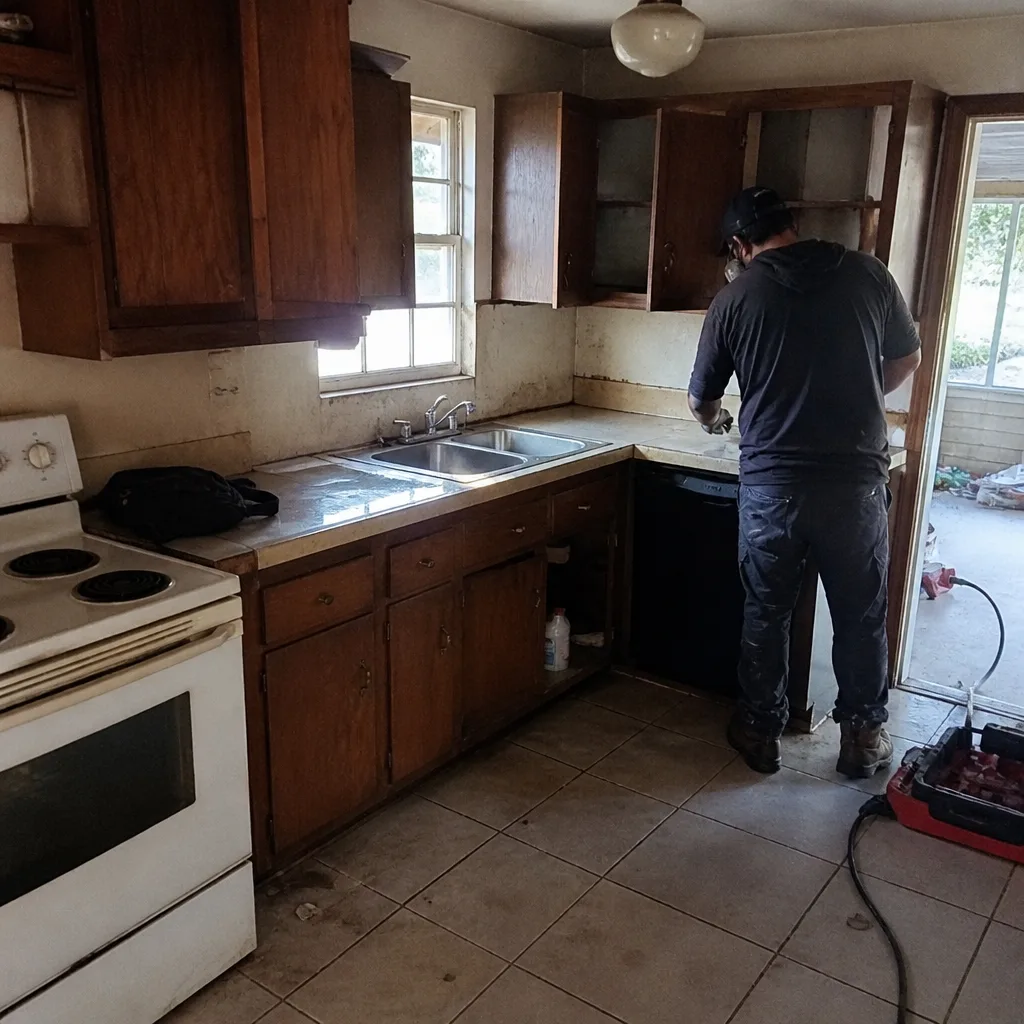 Before
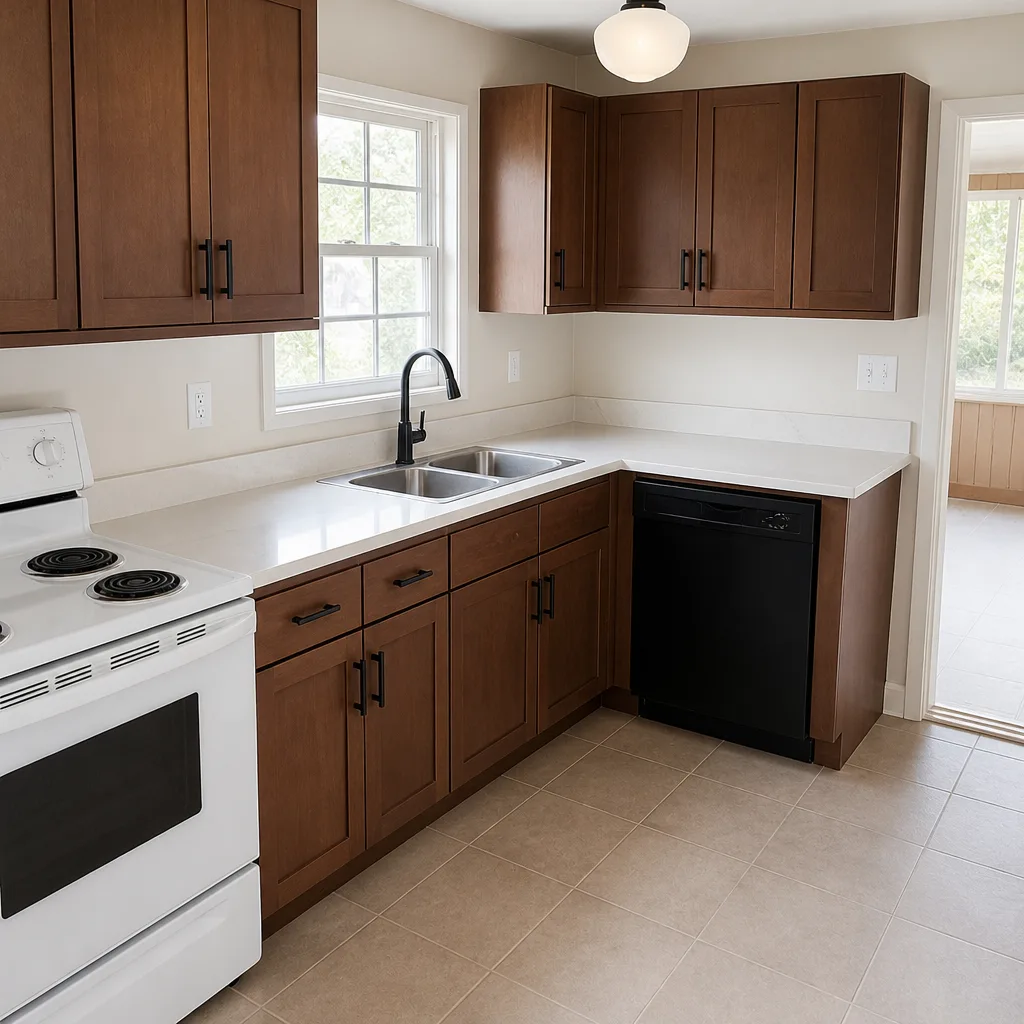 After
When to Call a Professional
Call a professional immediately for anything involving a roof surface, a retaining wall that has moved, standing water near electrical systems, a gas smell, a foundation crack that’s growing, or a large window or door that has failed its seal. These aren’t judgment calls. They’re cases where the wrong first move changes the cost of the repair dramatically. For a lagging fence post, a missing shingle tab, or a small ceiling stain, a scheduled inspection within a few days is fine. For anything involving structural movement or water near electrical, don’t wait.
Construction Richardson offers free estimates in Richardson, with a written line-item scope and a documented inspection. Call (844) 320-6637 to schedule yours. We answer 24/7. Fast dispatch from 7am to 7pm, Sunday through Friday.
Frequently Asked Questions

There’s no single number, because a storm repair can range from a minor shingle replacement to a full replacement depending on the extent of the damage. The honest answer is that we quote it per job, in writing, after inspecting the roof and documenting what’s damaged and what isn’t. The written estimate sets the price. Call (844) 320-6637 for an exact quote, and estimates are free.
Coverage depends on your policy and the cause of the damage, and every claim is different. What’s consistent is that thorough documentation strengthens your case. Photograph and measure before anyone walks the property, open the claim, and get an independent inspection from a licensed contractor. Call (844) 320-6637 to schedule an inspection for your claim file. The estimate is free.
Make the property safe, photograph and measure the damage, and open the claim. Don’t sign anything and don’t let a contractor walk the property before you do your own documentation. Then call a licensed roofer for an independent inspection. Call (844) 320-6637 to schedule it. Estimates are free, and the documentation is what protects the settlement.
Small, flat, ground-reachable tasks like boarding a broken window are reasonable. Roof surface work, wall removal, and anything involving structural or electrical repair are not. Roof edges are slick and dangerous, and a bad patch can trap water and cause more damage than the original problem. Call (844) 320-6637 and we’ll send a licensed professional to look. Estimates are free.
Yes, where the work requires a permit we pull it, and we build the permit step into the written scope and schedule before work begins. Not every repair needs one, and which repairs do is set by the City of Richardson’s building department. We tell you what applies, then show you the permit before we start. Call (844) 320-6637 to discuss your project. Estimates are free.
That depends on the scope and the permit timeline, and we give a schedule in writing with the estimate. Small repairs often finish in a day or two, while roof replacements and structural repairs take longer because of inspections. The written schedule sets the expectation, and we hold ourselves to it. Call (844) 320-6637 for a scope and a schedule. The estimate is free.
The Bottom Line
The construction emergencies that hit Richardson homes follow patterns, and the homeowners who come out best are the ones who plan for them. Secure the property, document before anyone arrives, stabilize only what’s safe, and let licensed professionals handle anything structural, electrical, or elevated. Keep a system file on hand so the repair has a baseline to work from, and use the verification checklist on every contractor you consider. Structural or cosmetic, the right sequence is what protects the claim and the repair. One contractor from permit to punch list, built to the spec, is how a storm repair should be done.
Construction Richardson offers free estimates in Richardson. Call (844) 320-6637 to schedule yours. We answer 24/7. Fast dispatch from 7am to 7pm, Sunday through Friday.
Written by the team at Construction Richardson.